Let's do it together!
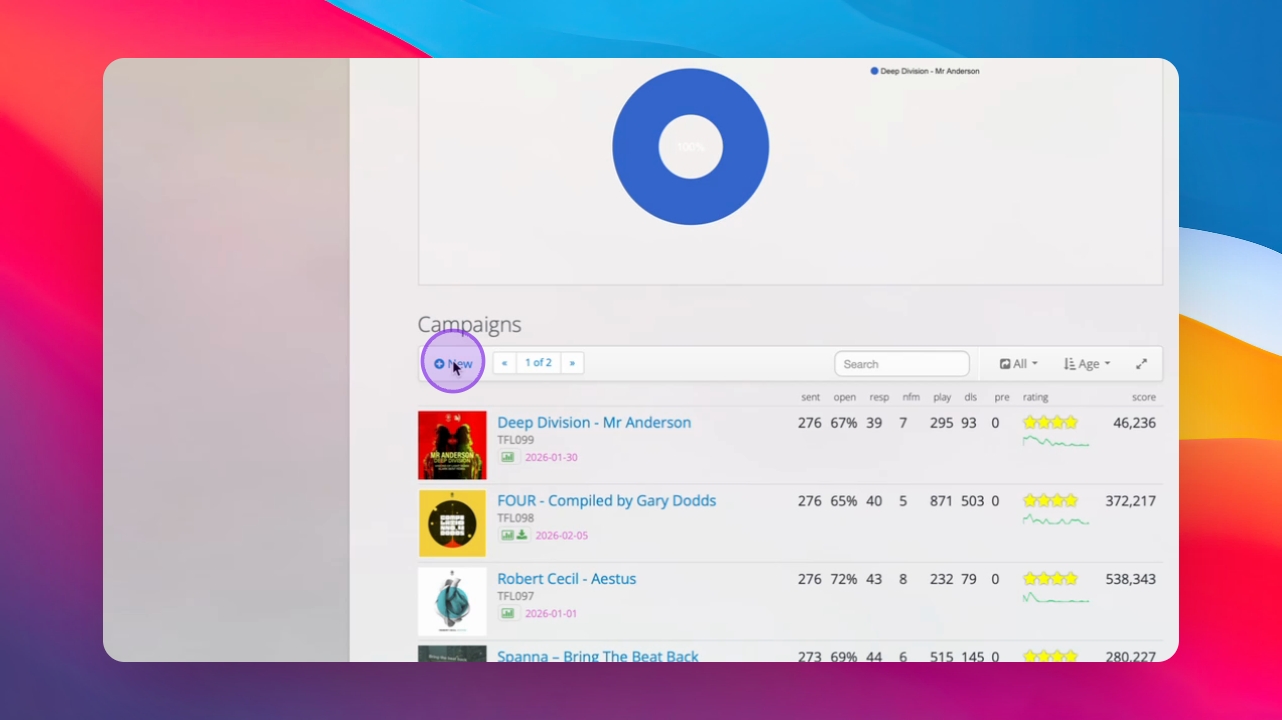
Step 1: Access Campaigns
Go to the Campaigns section to start setting up your campaign.
Step 2: Create New Campaign
Click on New to initiate a new campaign.
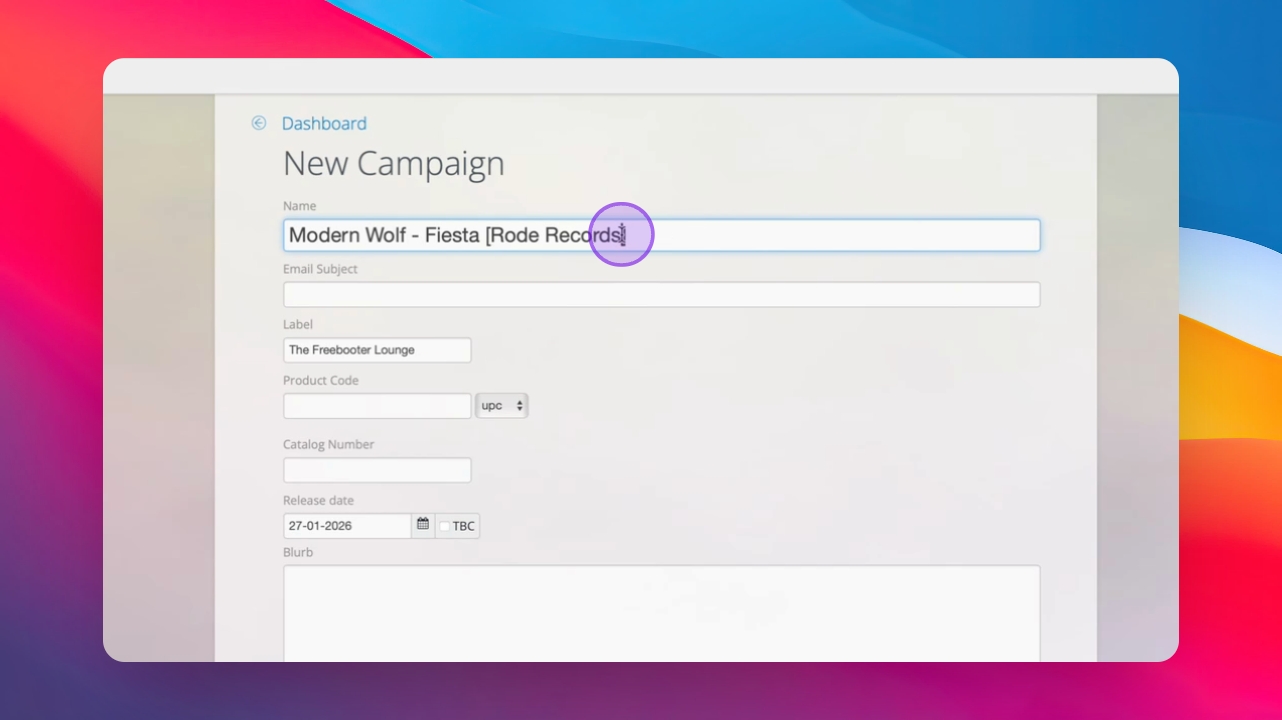
Step 3: Add Campaign Details
Add the artist name, release name, and record label to their respective fields.
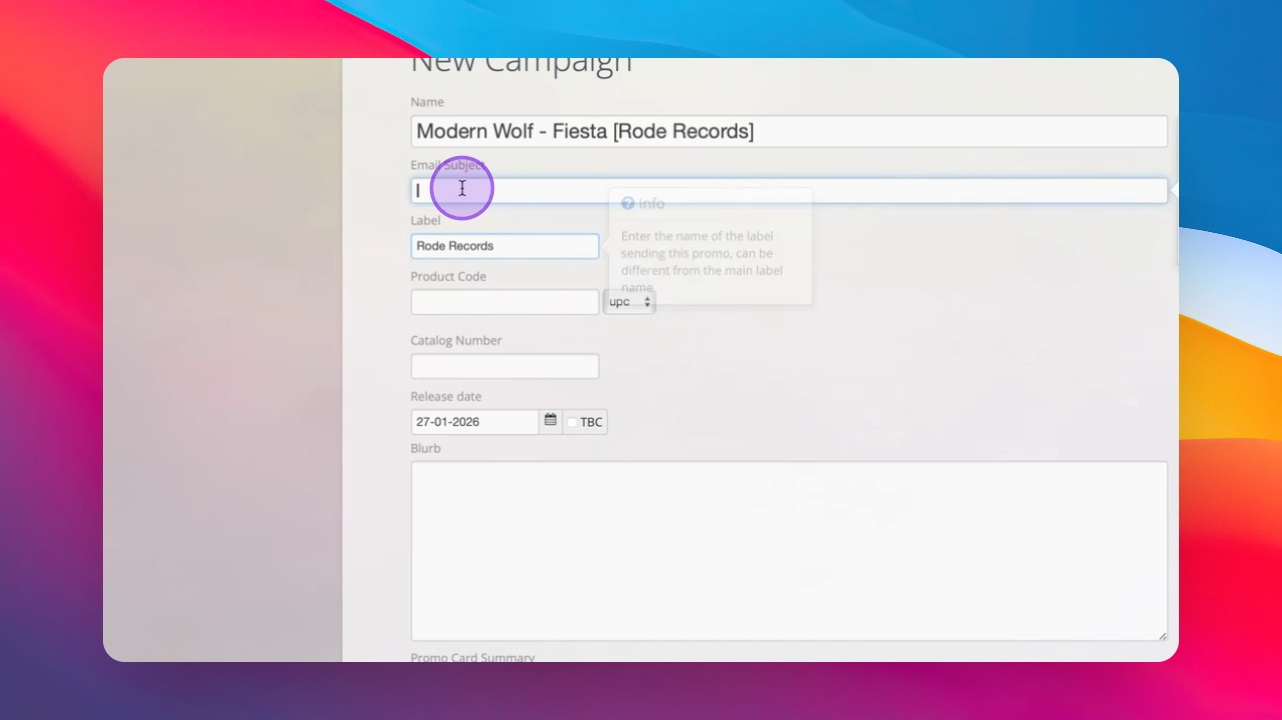
Step 4: Fill Email Subject
Optionally add an email subject; it can be left blank as Inflyte auto-populates it.
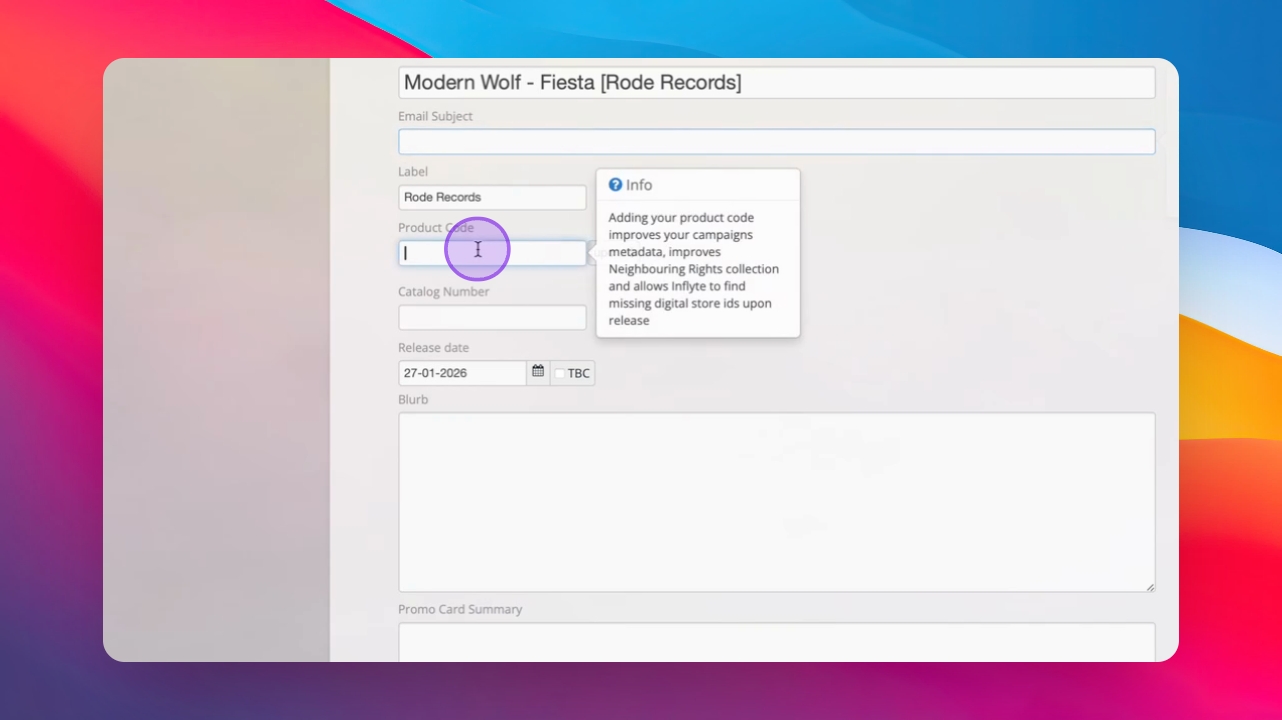
Step 5: Add Product Code
Add a product code if available to enhance neighboring rights tracking.
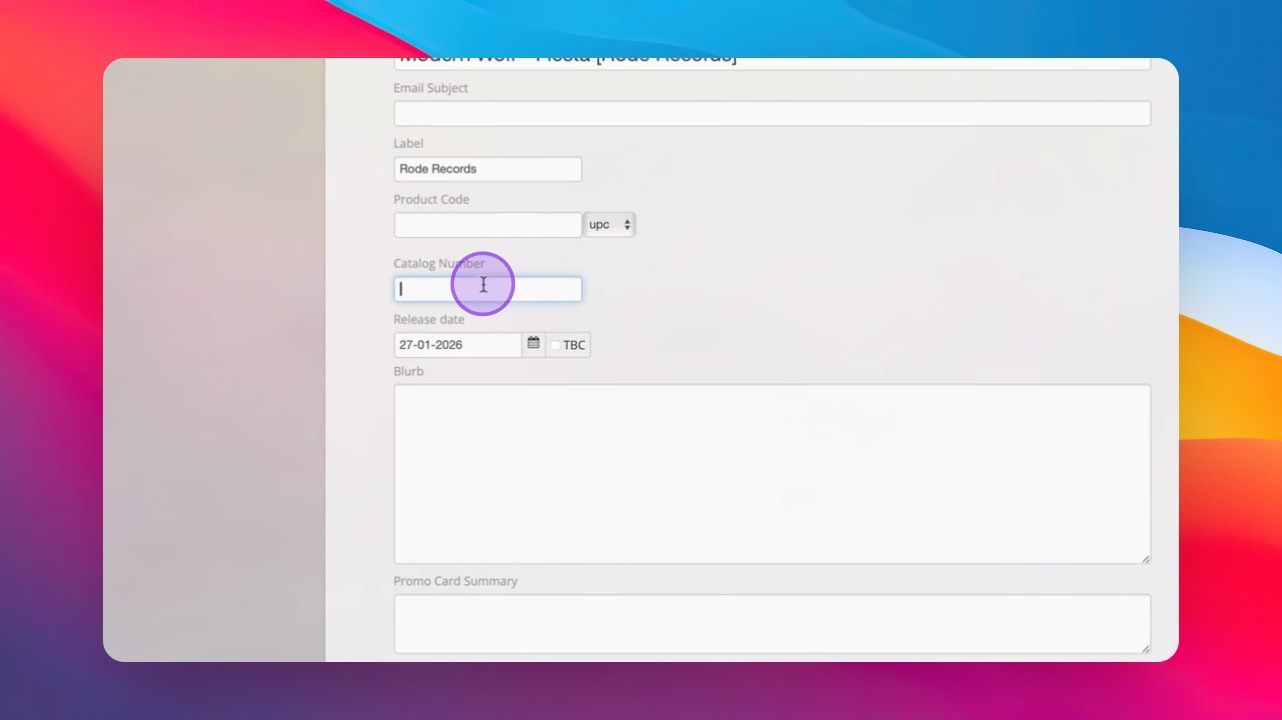
Step 6: Input Catalog Number
Enter your catalog number in the designated field.
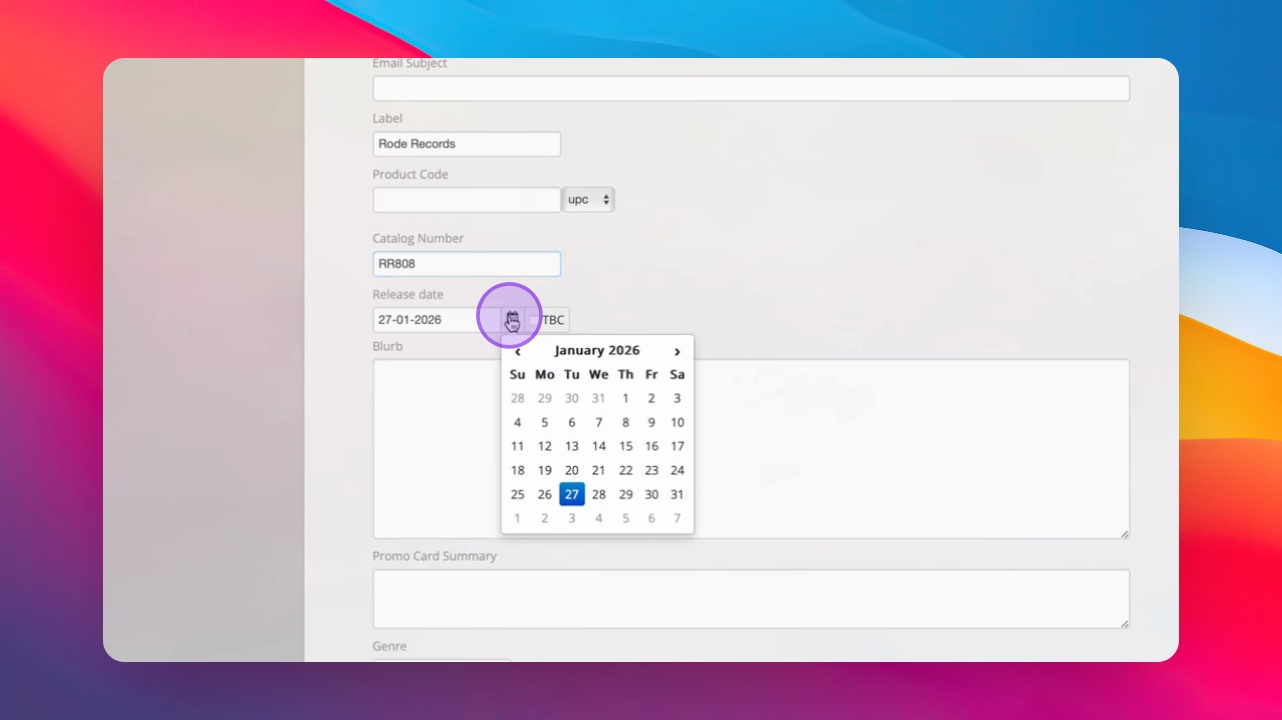
Step 7: Set Release Date
Input the release date for your campaign.
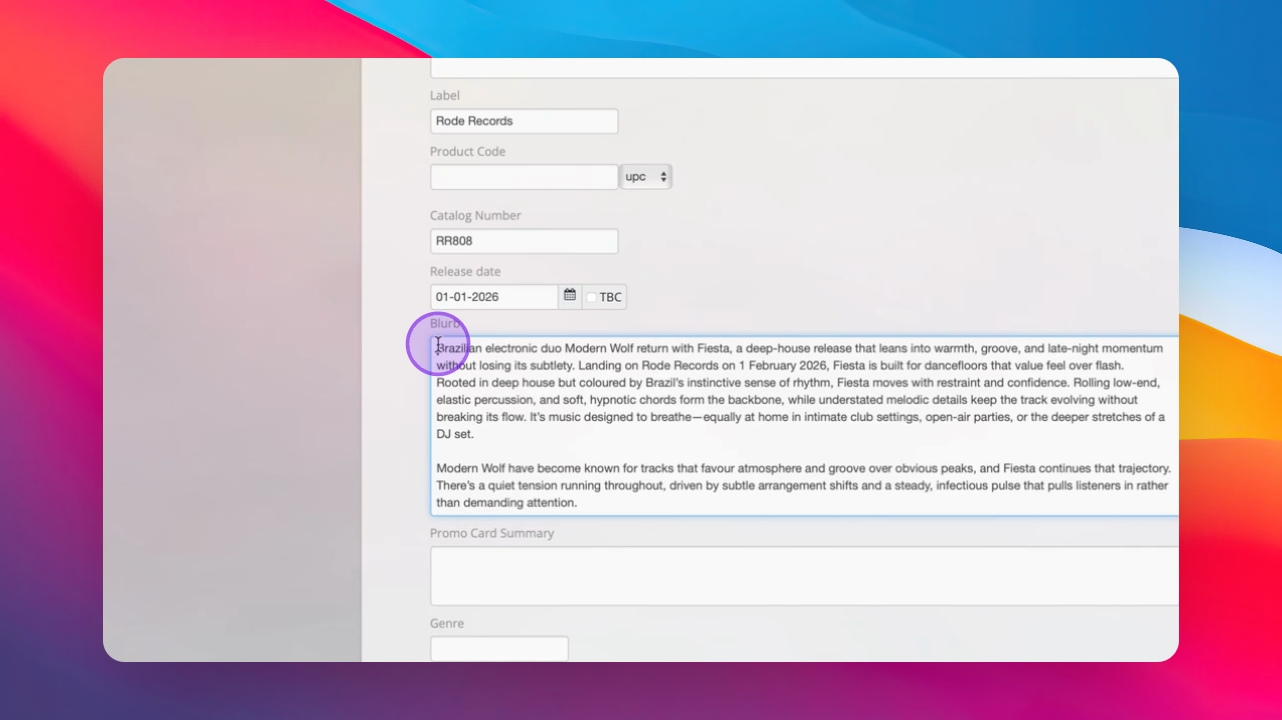
Step 8: Add Press Release
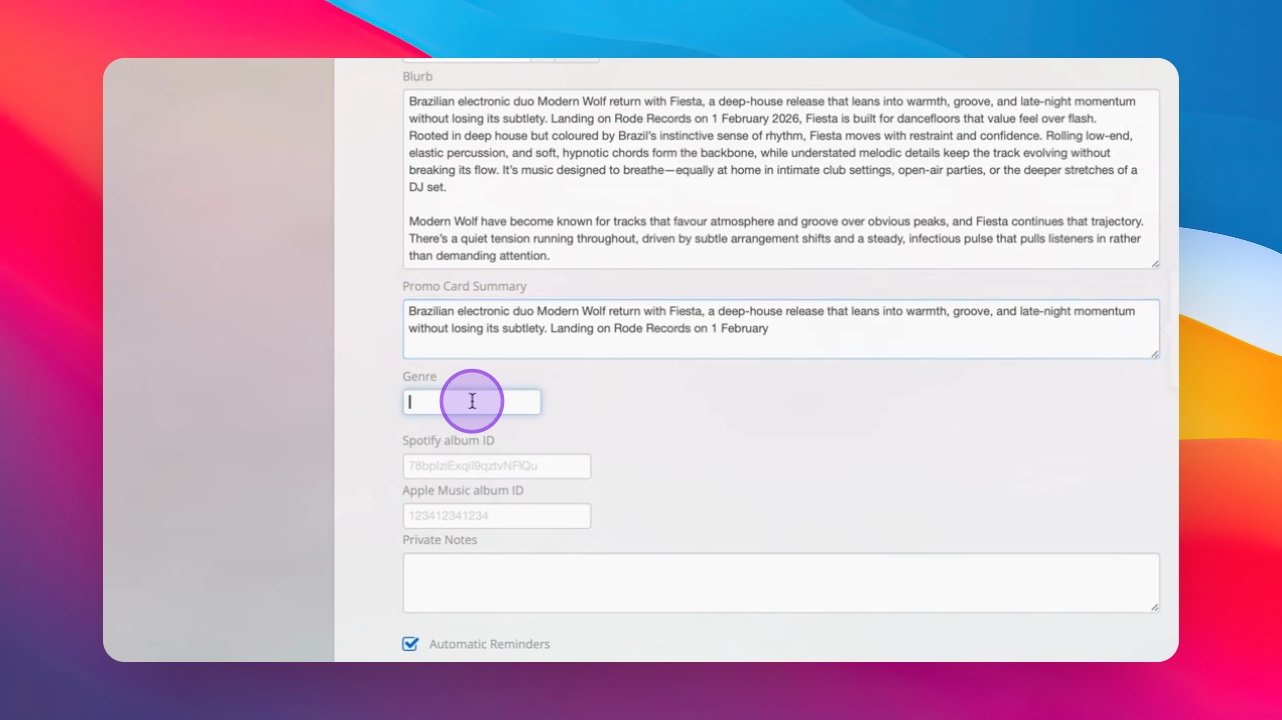
Copy your press release into the Blurb section of the campaign.
Step 9: Write Promo Card Summary
Provide a short version of your press release in the promo card summary. Promo Card summaries are displayed on tastemaker promo dashboards.
Step 10: Specify Genre
Enter the genre for your release.
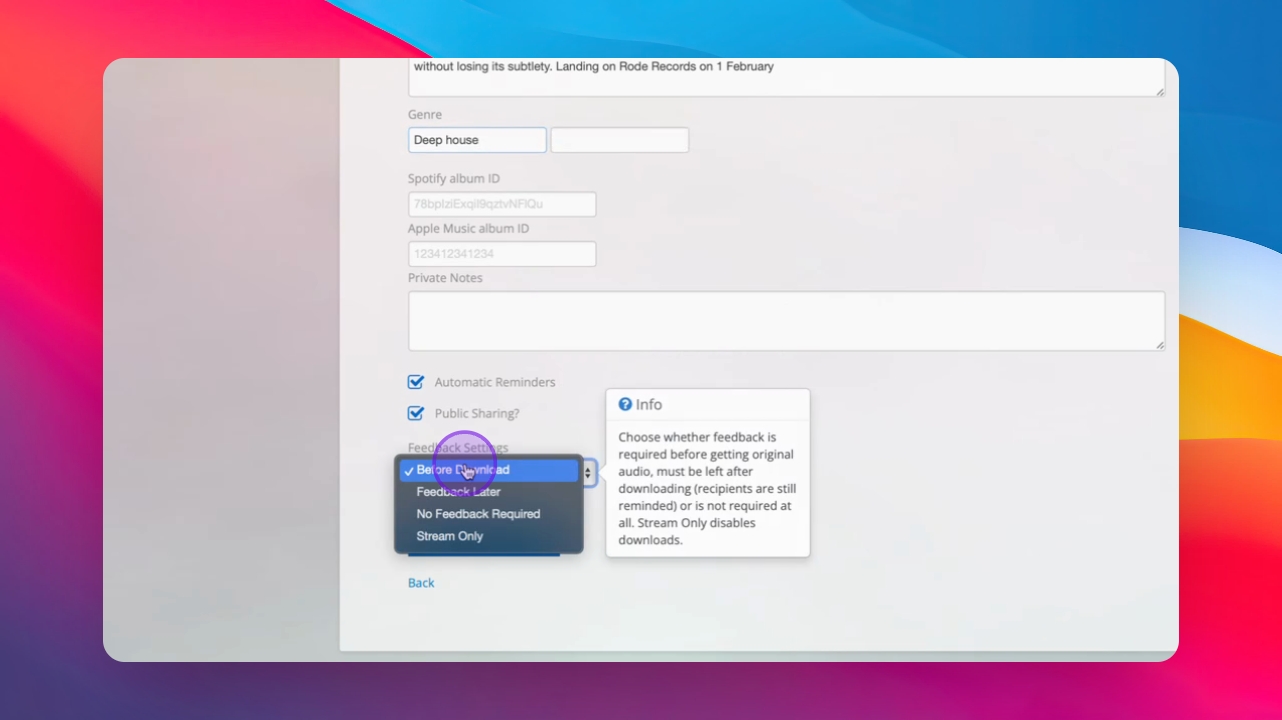
Step 11: Add Streaming IDs
Include your Spotify ID and Apple Music ID to enable Inflyte's built-in pre-save functionality.
Step 12: Add Private Notes
Input any internal notes in the Private Notes section.
Step 13: Set Reminder Preferences
Choose between automatic reminders, manual reminders and other feedback settings.
Step 14: Create Campaign
Click Create Campaign to finalize the setup.
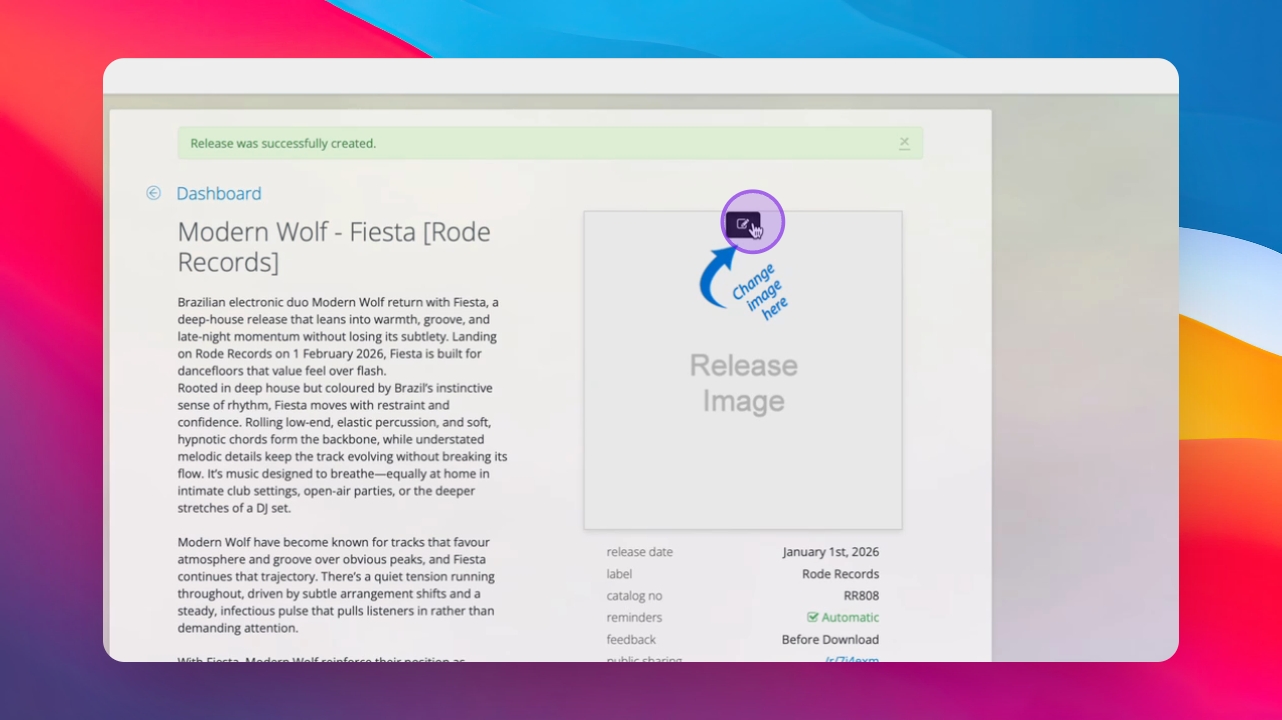
Step 15: Upload Artwork
Add your artwork for the campaign.
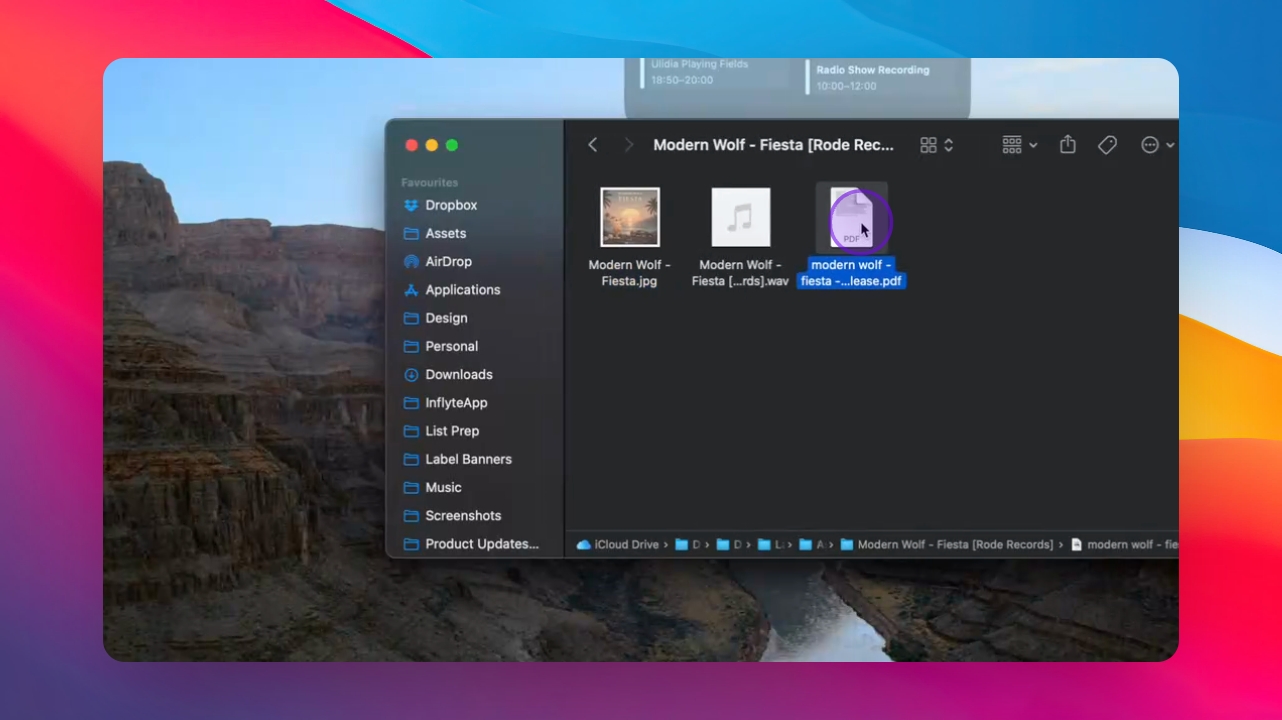
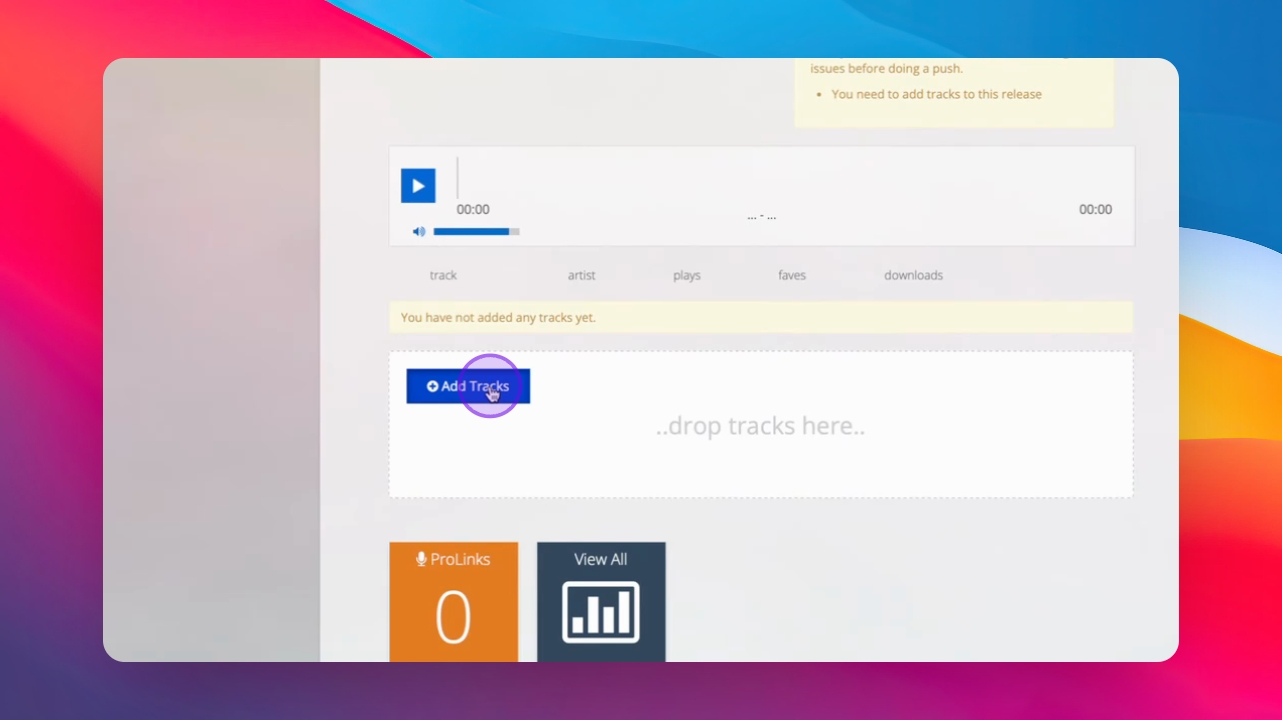
Step 16: Upload Audio Files
Upload your audio files, ideally in WAV or AIF format.
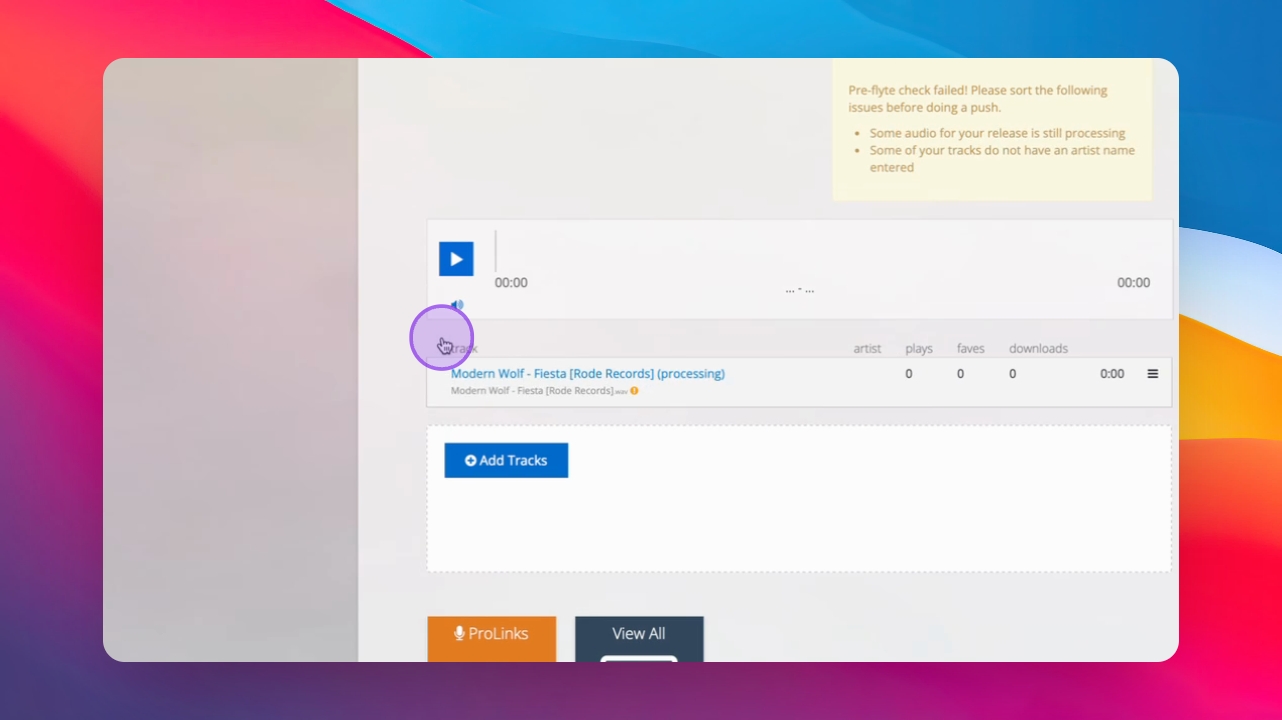
Step 17: Check Metadata
Ensure the metadata is correct by clicking the blue pencil.
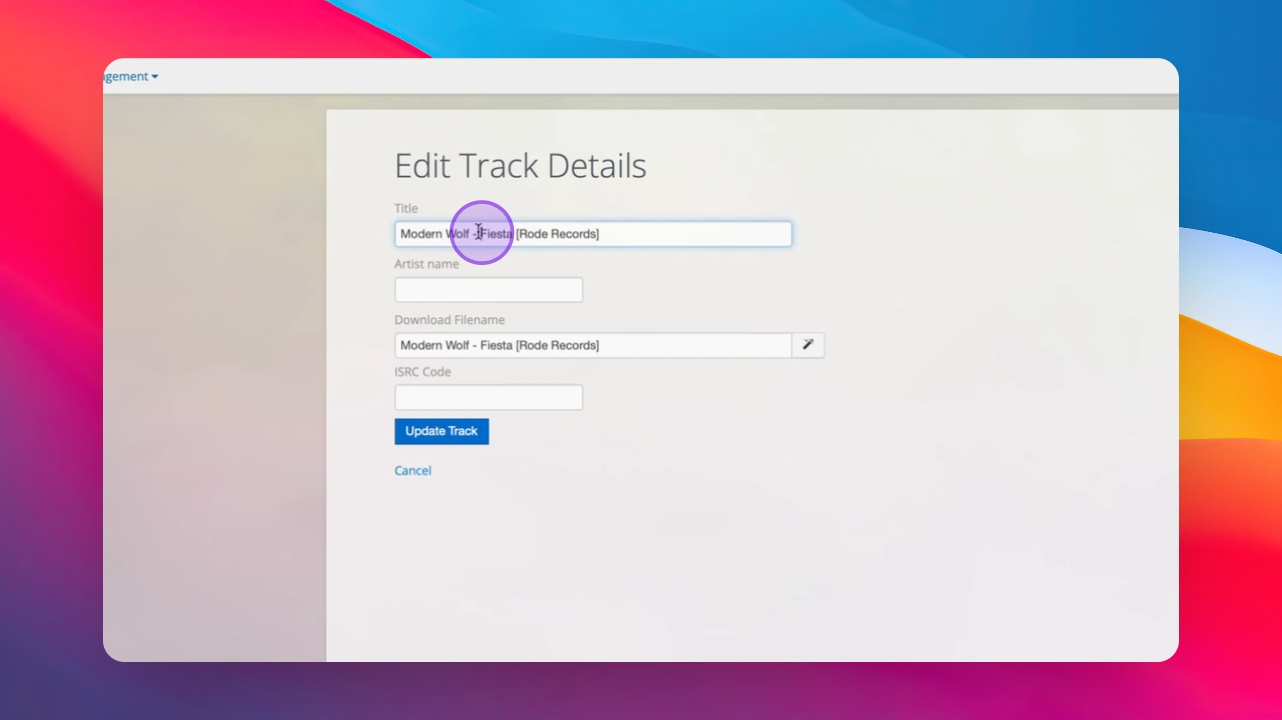
Step 18: Update Track Metadata
Input the song title in the title field only, keep the metadata clean, and ensure the ISRC code is correct and the download filename is in the format : artist - title [label].
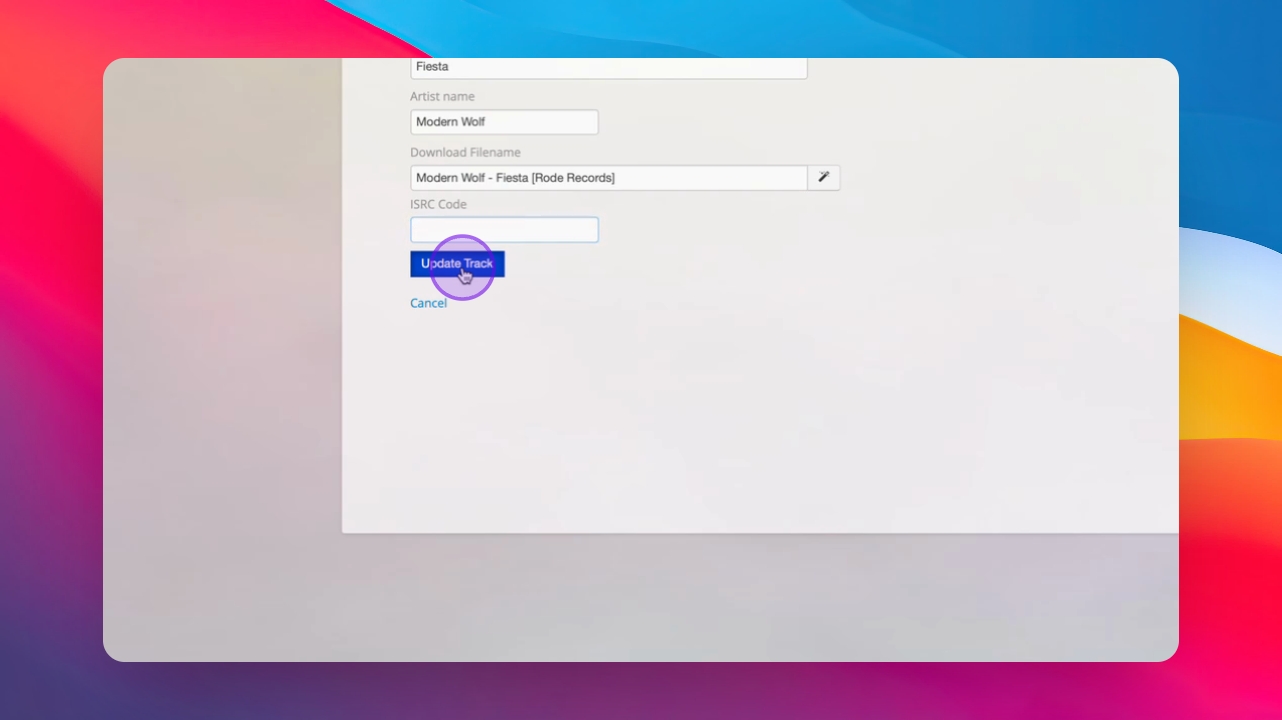
Step 19: Finalize Campaign
Update the track information and return to finish the campaign setup.
Step 20: Lock The Campaign
Click New Push to lock the campaign and select recipients. This is covered in the next video.